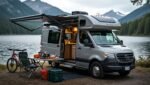
Over your first RV trip, you’ll quickly learn practical differences between expectations and reality: how packing, driving, hookups, and daily routines actually play out, what setup takes longer than planned, and simple checks that prevent problems; this guide gives concise, experienced-based advice so you can plan, adapt, and enjoy your first journey with confidence.
Preparing for Your First RV Journey
Run through a pre-trip checklist: confirm your insurance and registration, inspect tires at the manufacturer’s PSI, test brakes and lights, check roof seals, and weigh your rig at a public scale to avoid overloading. Practice backing and tight turns in an empty lot, and make campsite reservations 2-3 weeks ahead in summer. Pack spare fuses, basic tools, and a printed copy of campground directions in case cell service fails.
Essential Gear and Equipment
Bring wheel chocks, heavy-duty leveling blocks, and a 30-to-50 amp adapter; a 20-25 ft potable water hose and a 10-25 ft sewer hose with elbow fitting; a surge protector and RV-specific extension cord. Add a tire-pressure gauge, lug wrench, compact tool kit, spare tire, and LED work light. You should also carry a fire extinguisher, CO/LP detector, and a well-stocked first-aid kit.
Choosing the Right Route
You should prioritize roads rated for RVs: avoid low-clearance bridges and narrow mountain switchbacks, and check posted height/weight limits-many overpasses sit around 12’6″. Use RV-specific GPS or apps like RV LIFE and AllStays or preview entrances with Google Street View. Plan 100-200 miles or 4-6 hours driving per day on your first trip, and book pull-through sites when possible to simplify arrivals.
Check fuel stops for diesel or gasoline and map your fuel range with a 20% buffer; some rural stretches run 100+ miles between stations. Call campgrounds to confirm site dimensions and turn radius-many restrict rigs over 35-40 ft. Verify your cellular coverage with maps or an eSIM, identify alternate routes for closures, and avoid sustained grades over 7% when you’re fully loaded.
Setting Up Camp
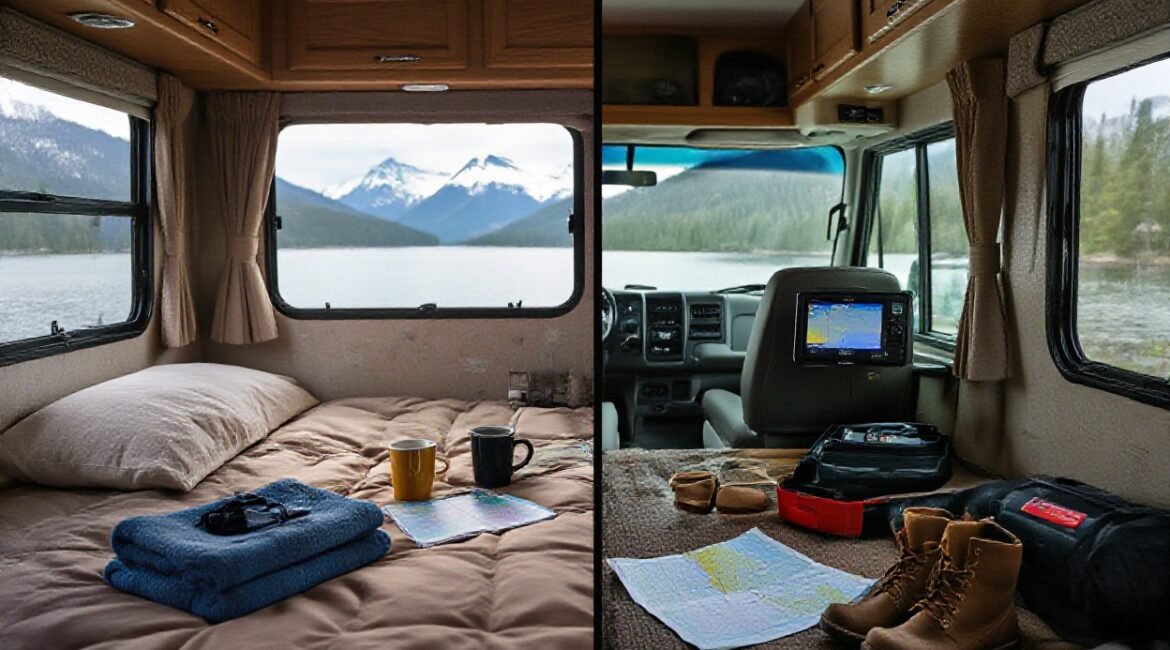
You’ll position the RV, level it with blocks or a hydraulic jacks, and set wheel chocks before extending slides or awnings; small grade changes of 1-3° matter for fridge performance and tank drainage. Use a 2-3 ft clearance for slide-outs and check overhangs and low branches when you back in. Stabilizer jacks reduce sway but don’t replace leveling. Finally run a short perimeter check for tripping hazards, loose tent stakes, and that your antenna or solar panels have unobstructed sun.
Finding the Perfect Campsite
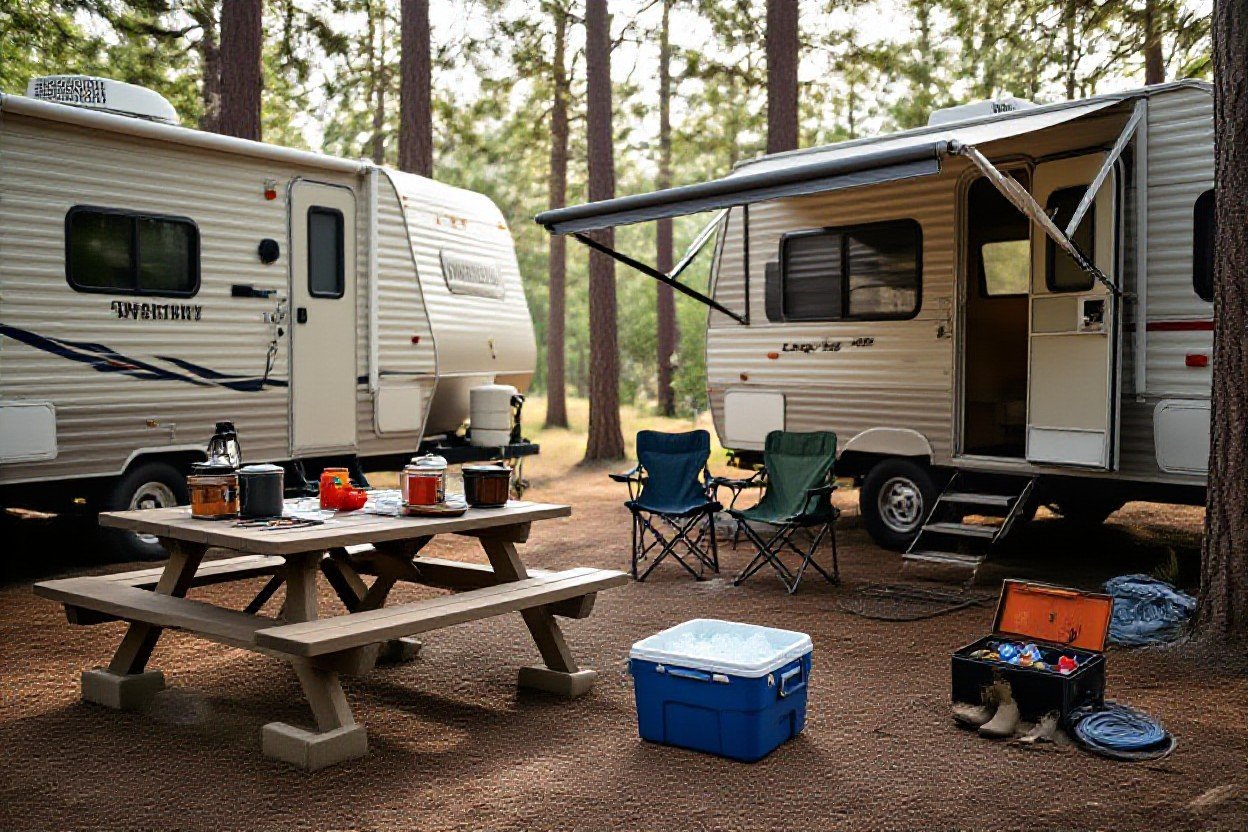
Check posted site lengths-sites run 20-80+ ft-so match a 25-30 ft RV to a 35-45 ft pull-through or a back-in with room to maneuver. Pick a firm, level pad (concrete or compacted gravel), avoid low overhanging branches, and favor sites downwind from generators or restrooms if noise bothers you. Also weigh proximity to hookups, bathrooms, and the trailhead: being 50-200 yards from facilities often balances convenience and quiet.
Understanding RV Hookups
Expect three main hookups: electrical (30A three-prong or 50A four-prong), potable water, and sewer. Bring a 25-50 ft potable hose, a pressure regulator set to ~40-50 psi, and a 10-20 ft sewer hose with elbow and adapter. Use a surge protector or EMS device at the pedestal and know your rig’s battery and inverter capacities so you don’t overload a 30A pedestal when both AC and microwave run.
For hookup order and safety, connect city water with a pressure regulator first, then attach the surge protector to the pedestal and plug the RV into it; doing the surge protector-to-pedestal before RV-to-protector helps avoid live cord handling. Always keep the sewer cap closed until you’re ready to dump, use a clear elbow to monitor flow, and flush the black tank with the built-in flush or a portable tank flush before stowing the hose.
On the Road: What to Expect
You’ll spend more time managing speed, space, and resources than you did in a car; Class A rigs average 6-10 mpg and Class C 8-12 mpg, so plan fuel stops every 200-300 miles. Traffic patterns change-keep to slower lanes where required and expect longer braking distances at highway speeds. Campsite check-in windows often fall between 2-4 PM, and many parks restrict generator use, so stagger arrival and charge planning accordingly.
Driving an RV for the First Time
Start with a 20-30 minute practice loop in a quiet area to get used to wide turns, increased blind spots, and slower acceleration; an RV may take 50% longer to accelerate to highway speed than a car. Use a spotter when backing and aim for a following distance of 6-8 seconds at highway speeds. Adjust mirrors for a clear view of the rear quarters and reduce speed on curves to avoid trailer sway.
Common Challenges and Solutions
You’ll encounter issues like black tank odors (typical holding tanks are 40-60 gallons), tire blowouts, low clearances, and weak campsite power. Adopt solutions such as a tire pressure monitoring system, RV-specific GPS to avoid bridges under 11-12 feet, a 30/50 amp shore power surge protector, and a water pressure regulator. Regularly check lug nuts after the first 50 miles and use wheel chocks when parked.
For practical fixes, set tongue weight for trailers at about 10-15% of trailer weight to reduce sway, carry a portable power station for quiet overnight power, and flush black tanks with an appropriate rig washer or enzyme treatment every 3-5 tank cycles. Replace tires older than six years, keep a spare rated for the RV’s load, and practice hitching, leveling, and emergency stops in a safe lot before long trips to cut downtime and stress on the road.
The RV Lifestyle: Expectations vs Reality
Daily Routines and Responsibilities
Mornings often begin with a 15-45 minute routine: leveling the rig, hooking shore power, and checking tire pressure. You’ll monitor freshwater and gray/black tanks (fresh tanks commonly 20-100 gallons), run the generator or inverter as needed, and check propane and battery voltage. Campsite check-in/out times and quiet hours shape your schedule, and tasks like slide-lube, roof checks, or filter changes become weekly or monthly items; if you’re full-timing, expect 30-60 minutes daily on chores plus longer maintenance every few weeks.
Socializing with Fellow Travelers
Campgrounds and RV parks are social hubs: potlucks, happy hours, and weekly events are common, and clubs such as FMCA or Escapees run rallies and workshops. You’ll trade route tips, maintenance hacks, and spare parts by the campfire; brief conversations often lead to shared day trips or convoy plans. Hosts and long-term neighbors frequently provide local intel like best fuel stops, low-clearance warnings, and favorite dump-station spots.
To connect quickly, use Campendium, iOverlander, campground Facebook groups, or park bulletin boards to find events; many parks schedule potlucks around 5-7 PM. You’ll want to clarify hookup types, generator hours, and towing experience before joining a convoy-groups commonly average 40-60 miles per travel day together. If you prefer lower-key interaction, seek boondocking clusters where knowledge-sharing replaces formal events and friendships form around shared resources and roadside fixes.
Maintenance and Troubleshooting
Basic RV Maintenance Tips
You should check tire pressure weekly and before long drives, and top up fluids at oil-change intervals (about every 5,000-7,500 miles for many gas engines). Inspect roof seams and slide seals twice a year and reseal every 2-3 years; test batteries monthly and plan replacement at 3-5 years. Exercise slides and lubricate seals after heavy use, and winterize when temperatures dip below 32°F. Any small issue left unchecked will grow into a bigger, costlier repair.
- Check tire pressure weekly and carry a portable inflator.
- Test battery voltage monthly and pack a 12V multimeter and jumper cables.
- Inspect roof seams and reseal every 2-3 years to prevent interior damage.
- Any repair under $200 addressed now often prevents a $1,000 shop job later.
Common Mechanical Issues
Your most frequent problems are flat tires, dead house batteries, failing water pumps, slide motor wear, and worn wheel bearings-inspect bearings annually or every 12,000-15,000 miles. Engine-driven items mirror cars: alternator failure and cracked belts appear with mileage; generators typically need oil changes every 50-100 operating hours depending on the model. Carry spares like fuses, belts, a water-pump diaphragm, and a basic tool kit for roadside fixes.
When batteries read below 12.4V at rest you should recharge and load-test them; a bank that won’t hold charge after cycling likely needs replacement. For water-pump issues check inlet filters and listen for cavitation-loss of pressure often means a failing diaphragm. If a slide won’t move, inspect fuses and breakers, then measure motor amp draw: high amps point to mechanical binding or gear damage rather than an electrical fault.
Budgeting for Your RV Trip
Hidden Costs to Consider
When you budget, include routine maintenance (oil change $30-100, tires $200-500 each), propane refills ($20-60), dump station fees ($5-25), and occasional tow or repair bills that can run several hundred dollars. Also factor in insurance add-ons, campground deposits, seasonal tolls and pet fees; unexpected repairs or parts replacement can quickly push a weekend budget into the high hundreds, so keep a contingency fund of $500-1,000.
Tips for Saving Money on the Road
You save most by planning routes, using discounts and adjusting daily habits: use apps like GasBuddy and RV Parky to find cheaper diesel and sites, consider Passport America or Good Sam for campsite discounts up to ~50%, cook aboard instead of dining out, and maintain tire pressure/weight to improve MPG by a few percent. Small efficiencies-shorter routes, fewer paid nights-compound over long trips.
- Plan routes to avoid backtracking and toll-heavy corridors; cutting 50-100 miles a week can materially lower fuel spend.
- Compare nightly rates-many private parks are $20-60, state parks $10-30-and book longer stays where discounts apply.
- Try boondocking or free BLM sites when safe; even a few $0-10 nights a month add up.
- Knowing a quick spreadsheet tracking fuel, nights, and groceries reveals where you can trim expenses.
For a concrete example, if you skip two paid nights weekly at $35 and save $25 weekly by cooking, that’s about $95 saved per week (~$380/month). Finding diesel 30¢ cheaper per gallon on 100 gallons monthly saves $30. Evaluate memberships by simple math: an annual fee that yields 2-4 discounted nights can pay for itself fast, especially during longer trips.
- Track actual expenses with an app or spreadsheet to compare against your projected budget.
- Run test weeks of boondocking vs. paid parks to measure generator, water and battery trade-offs.
- Use fuel-price alerts and bundle errands to reduce extra starts and stops, improving consumption.
- Knowing that monitoring MPG, nightly rates and meal costs helps you decide when a membership or behavior change is worth the cost.
Final Words
From above, as a first-time RV owner you will quickly find that planning and patience outperform idealized expectations; your travel will be slower, systems need regular checks, and space requires strict organization, but you gain freedom, community connections, and the ability to adapt routes and routines-accepting minor repairs and learning maintenance will turn surprises into manageable tasks and make future trips smoother.